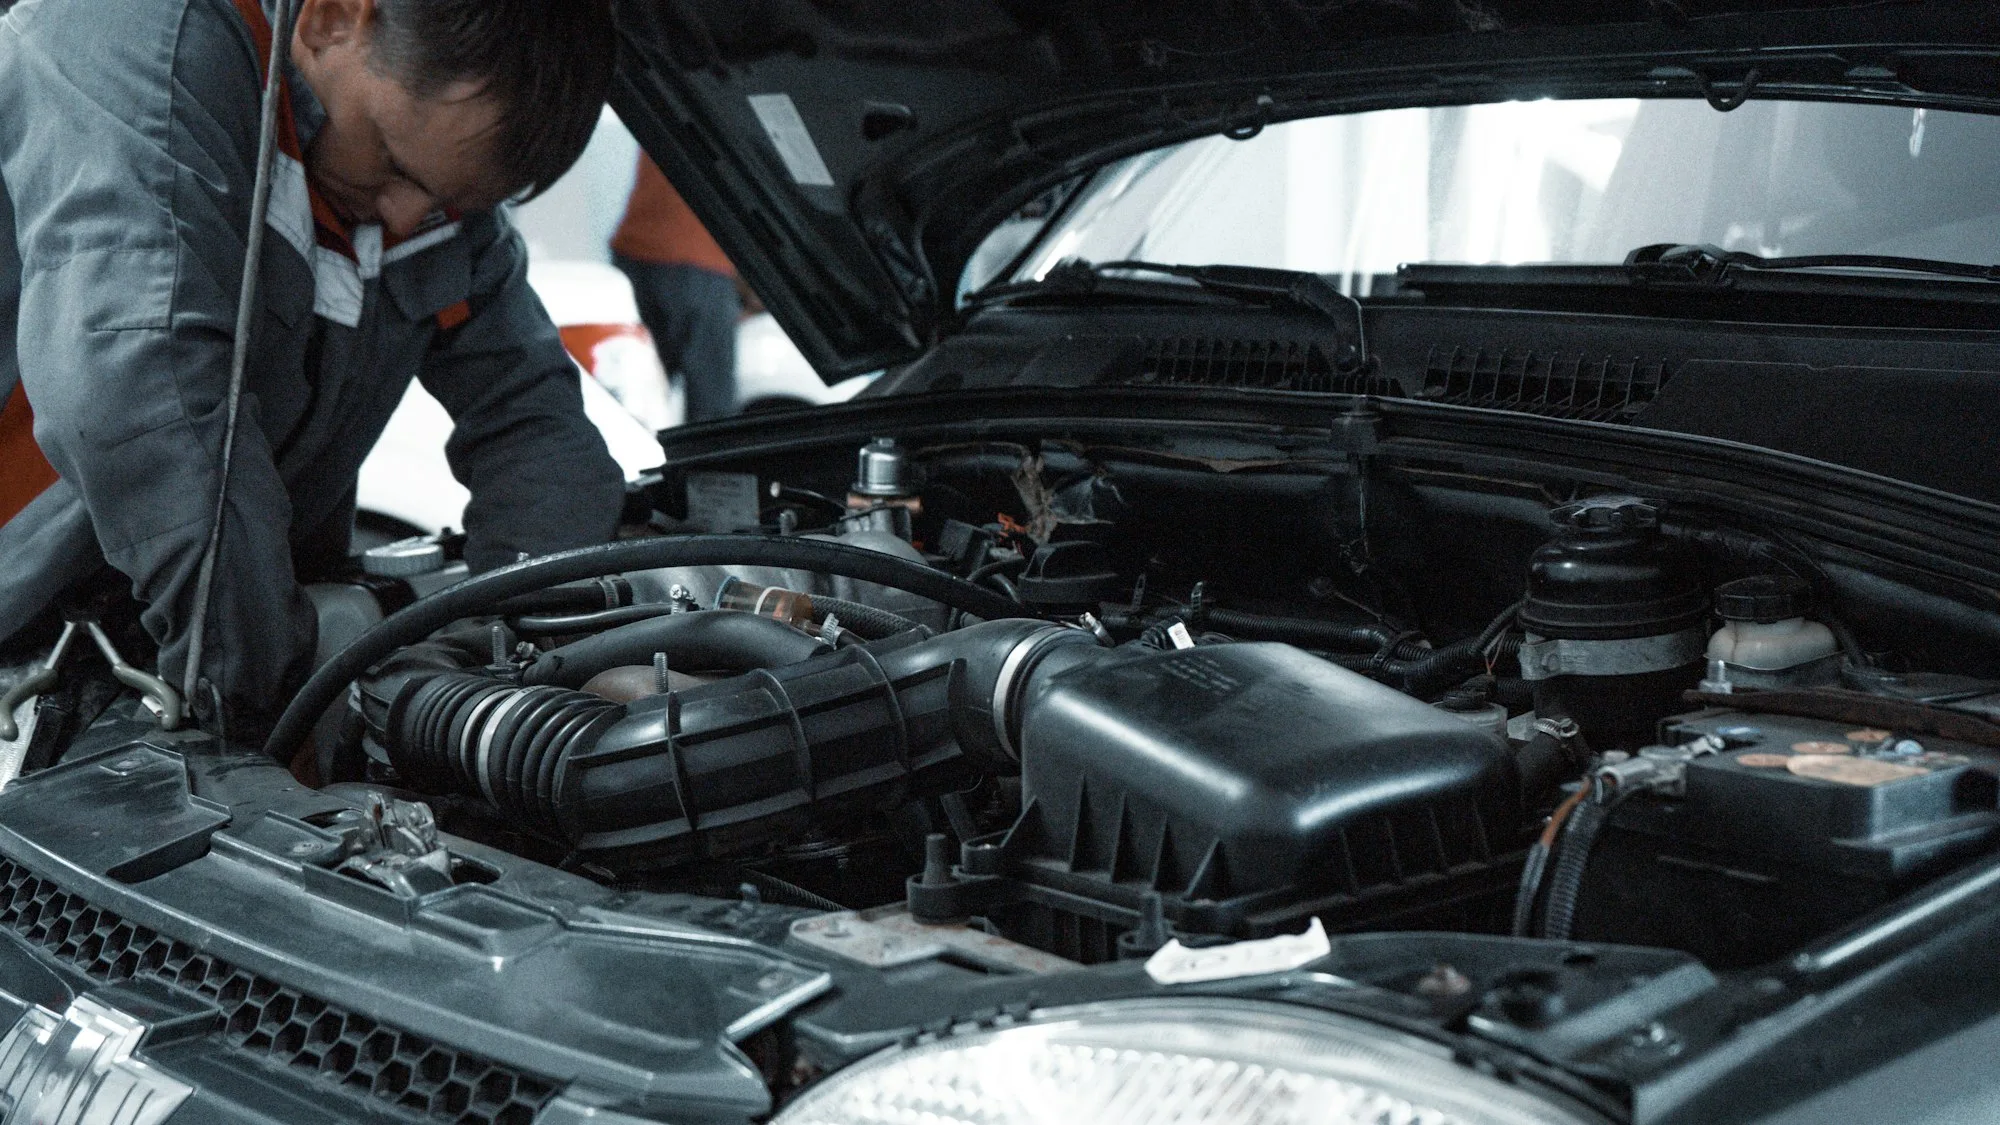
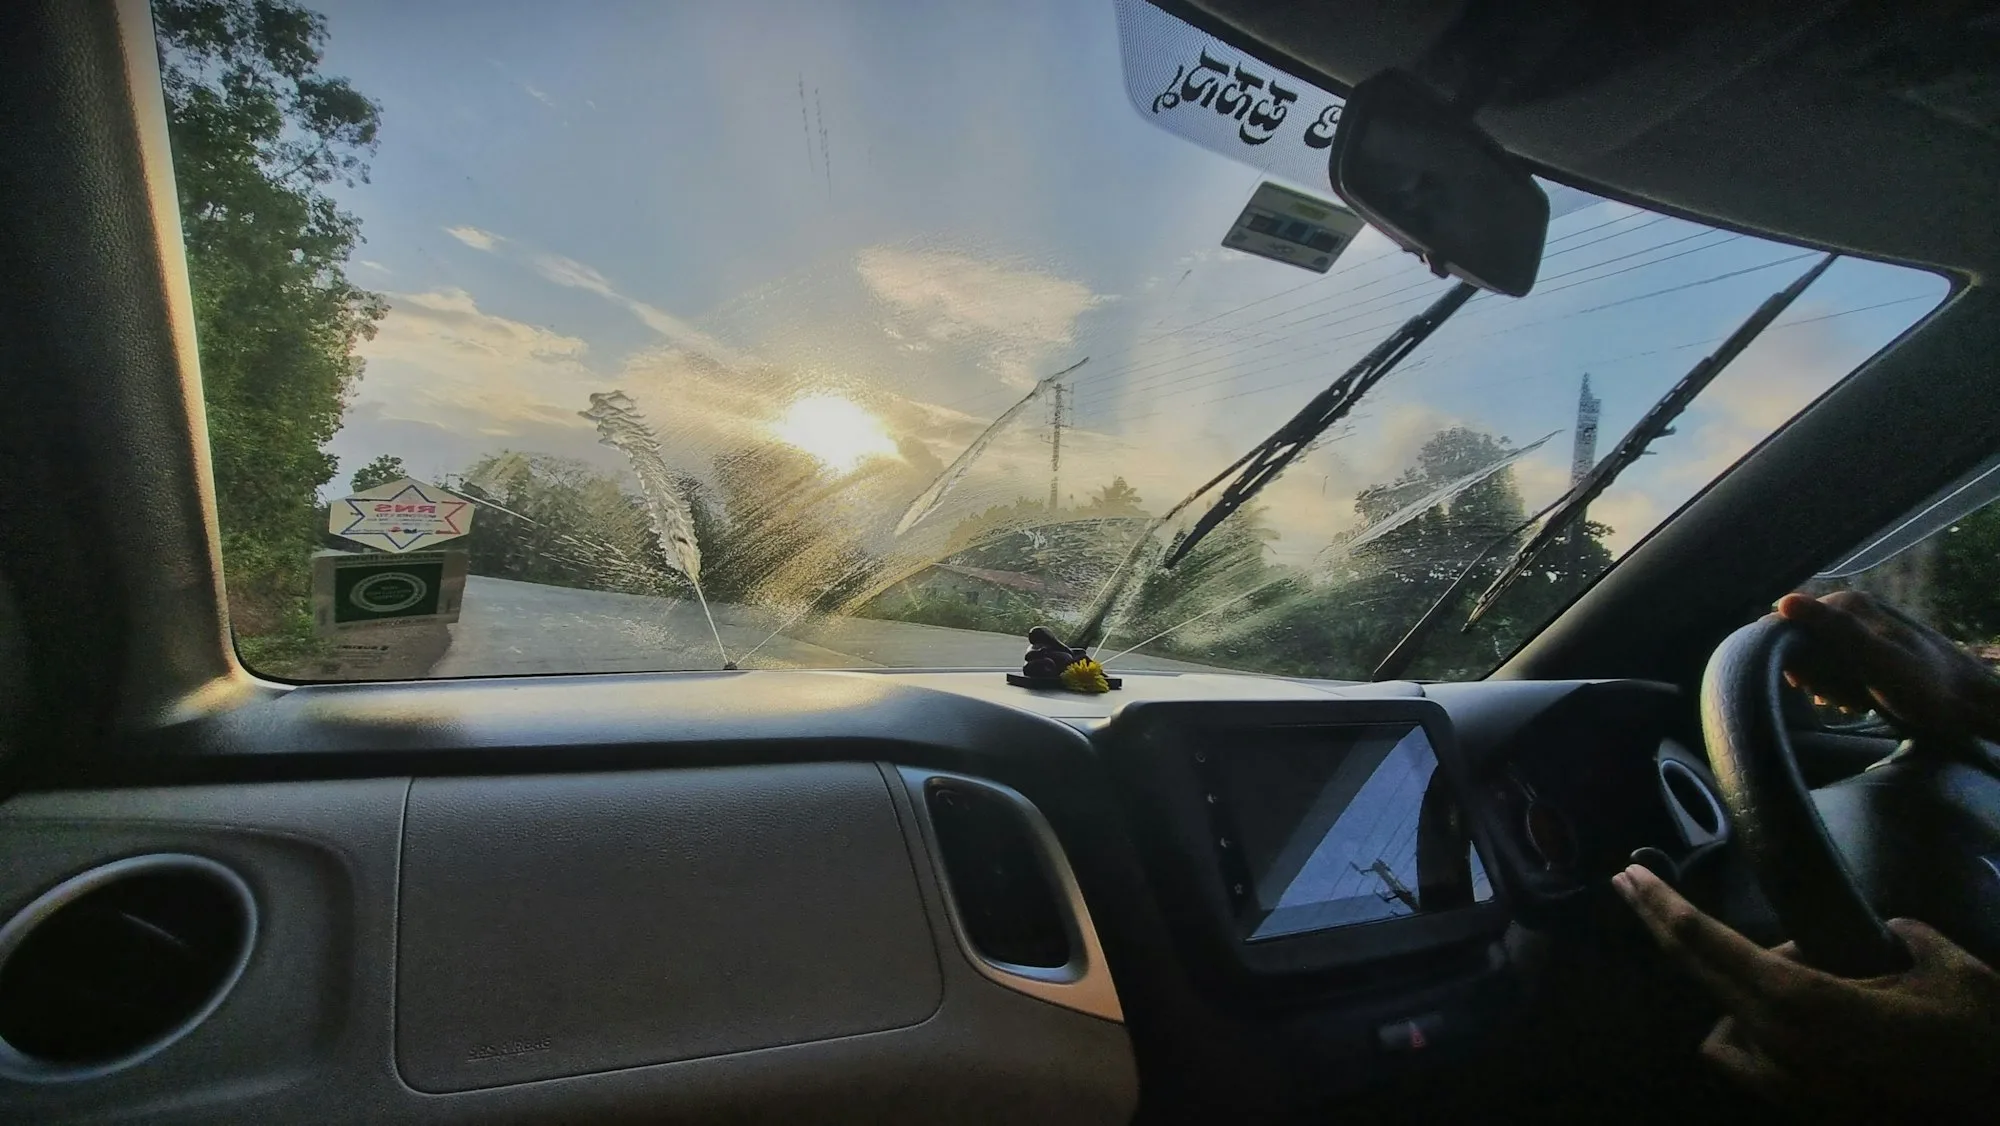
We repair small windscreen chips with vacuum resin injection in 20–30 minutes and stop them from spreading. For suitable damage no replacement is needed and your original glass is kept.
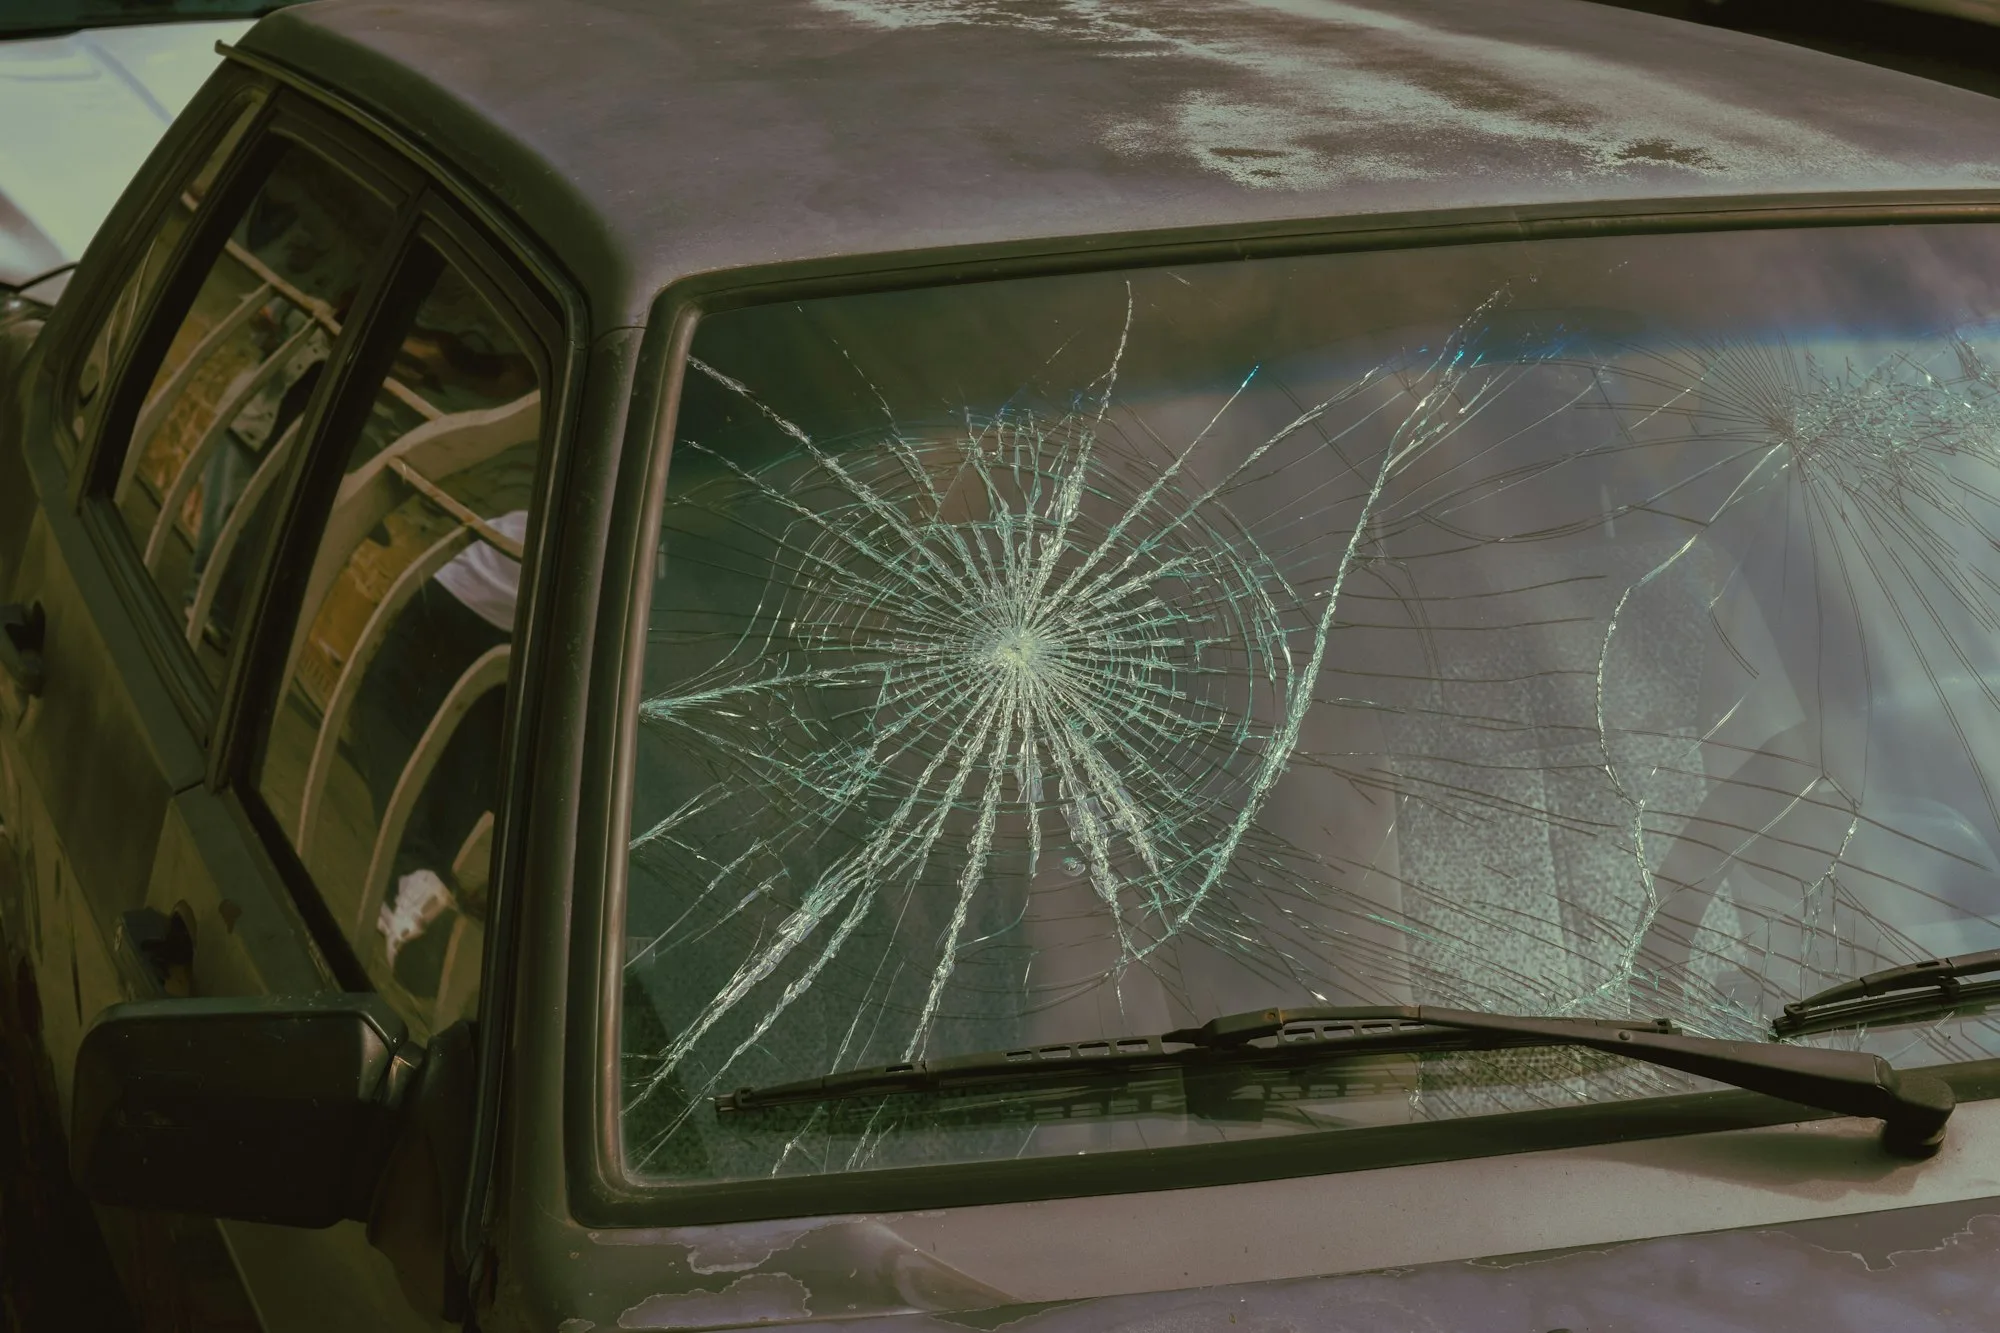
A small stone thrown up by the car in front can leave a star, bullseye or half-moon mark in the outer layer of the windscreen. Chip repair removes the air from the damage by vacuum and injects a special resin with a refractive index close to glass. The resin is cured with UV light and the surface is polished. The damage becomes much less visible and is largely prevented from spreading into a crack.
Advantages
Much lower cost than replacement and a 20–30 minute job
The factory bond and original glass are preserved
No ADAS calibration needed
At the workshop or on site
Stops the damage spreading and reduces the risk of replacement later
Who is it for?
Chips no larger than roughly a 2-euro coin, not too close to the edge and not directly in the driver's line of sight. If a line has started to run from the chip or the inner layer is damaged, a windscreen replacement is needed instead. Attach a photo to the quote form and we will tell you in advance whether it can be repaired.
What affects the price?
Number and size of chips
Damage type (star, bullseye, combination)
Contamination; old chips filled with water and dust are harder to repair
On-site service request
Insurance: many policies may cover chip repair depending on your policy
When should you repair it?
Chips spread with temperature changes and road vibration. Pouring de-icer straight on the glass in winter, aiming cold air conditioning at hot glass in summer or hitting a pothole can turn a chip into a crack. We recommend repairing within the first few days and covering it with clear tape until then.
After the repair
A faint shadow may remain; this is normal and does not affect the strength of the glass. You can drive and wash the car straight after the repair.
Key features
Vacuum resin injection and UV curing
Completed in 20–30 minutes
Original glass and factory bond preserved
No ADAS calibration required
Workshop or on-site application
Pre-assessment from a photo
How it is done
01
Damage assessment
Size, position and type are checked for suitability.
02
Cleaning
Moisture and dust are removed from the chip.
03
Resin injection
Air is drawn out with a vacuum tool and resin is filled in.
04
UV curing
The resin is hardened with UV light.
05
Polish and check
The surface is levelled and polished, and the result is checked together.
“They filled the chip in half an hour. Up close a faint mark remains, but the crack never spread. Good that they told me beforehand.”
Hakan T., Pendik
Frequently asked
When can a chip be repaired and when must the glass be replaced?+
As a rule, chips no larger than a coin, outside the driver’s direct line of sight and away from the glass edge can be repaired with resin injection. If a crack has started to spread, sits in the driver’s field of view or reaches the edge, replacement is required. Leaving a chip invites cracking from temperature changes and vibration, so have it checked as soon as possible to keep repair an option.