Car Glass Guides, , 4 min read
After a windscreen replacement: what should you watch out for?
Your windscreen has just been replaced. When can you drive, when can you go through a car wash, when do the tapes come off? A short guide to the first days, from adhesive curing to the ADAS check.
By İKİZLER Teknik Ekip
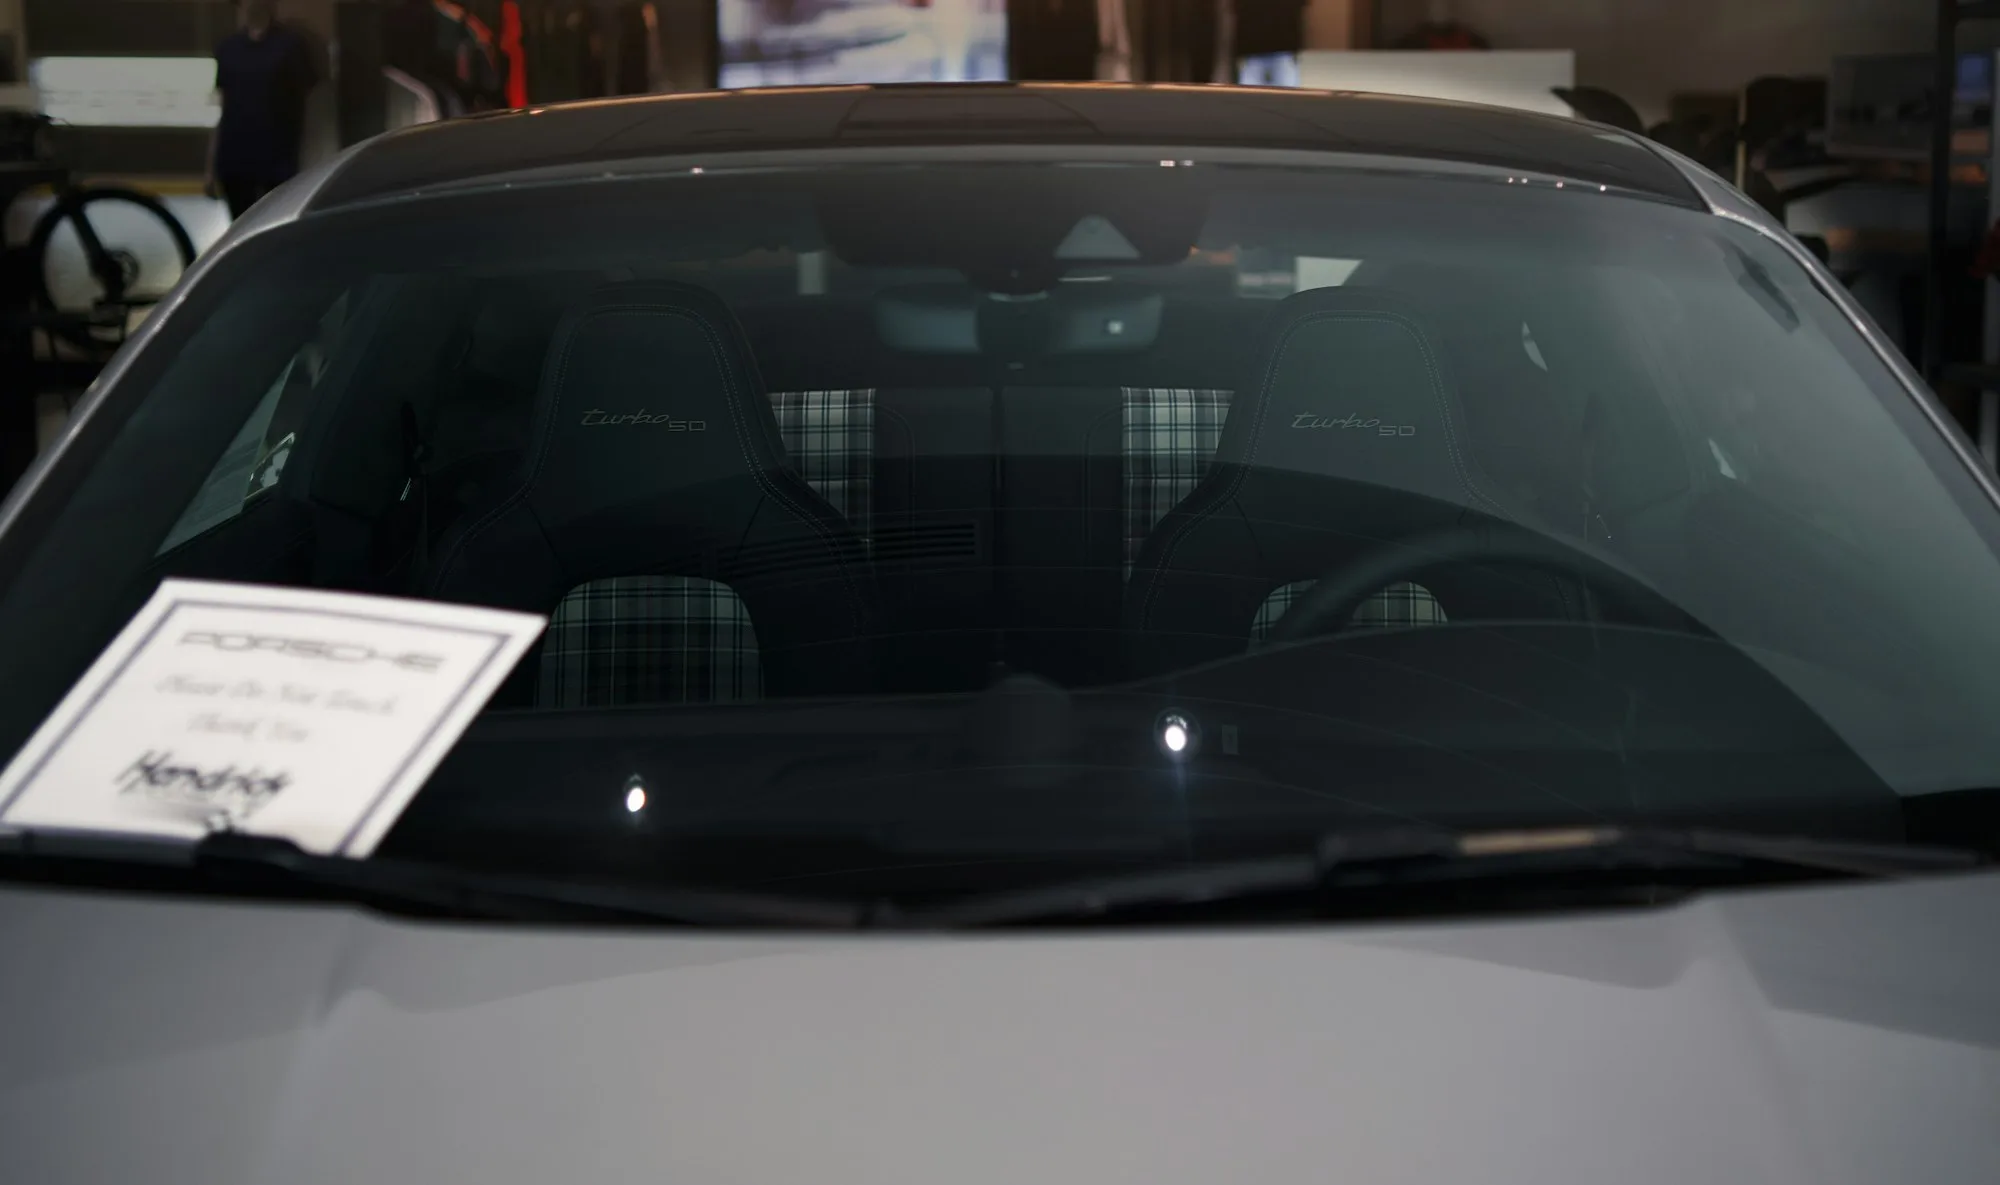
The windscreen is not only your field of view; it is also part of the car’s body structure and its safety systems. The first hours and days after a new windscreen is fitted directly affect how firmly it bonds to the body. In this article we go through what to watch out for after a windscreen replacement.
Why does it matter so much?
In modern cars the windscreen is bonded to the body with a polyurethane-based adhesive. This adhesive contributes to the strength of the roof, helps the airbag deploy correctly in a collision and keeps the glass in place. The adhesive reaches full strength over time; forcing it in the first hours can weaken the seal and the bond.
The first hour: waiting time
The adhesive we use has a safe drive-away time specified by its manufacturer. It varies with temperature and humidity, but we usually hand the car back about 1 hour after installation. In cold, damp weather this can take longer. Our technician will tell you clearly when the car can be driven; it is important to respect this time.
The first 24 hours
- Don’t slam the doors. Closing a door creates pressure inside the cabin that loads the uncured adhesive. Leaving a window open a couple of centimetres reduces this pressure.
- Leave the tapes on. The protective tapes along the edges help keep the glass and mouldings in place. Unless your technician says otherwise, leave them for about 24 hours.
- Avoid rough roads and sudden manoeuvres. Mounting kerbs, deep potholes and hard braking cause the body to flex.
- Don’t stick anything on the glass. Wait a few days before attaching a parking card, phone holder or dash camera.
The first 48–72 hours
- Avoid automatic car washes. High-pressure water and brush washes stress the new seal and adhesive. If necessary, wash gently by hand and don’t aim pressurised water at the glass edges.
- Go easy on heating and air conditioning. Blowing very hot or very cold air directly at the glass creates a sudden temperature difference. Use a medium setting.
- Check for leaks. If you notice dampness at the edges after rain, wind noise or whistling, let us know right away.
The ADAS check: why it shouldn’t be skipped
If your car has lane-keeping assist, automatic emergency braking or traffic sign recognition, the camera for these systems is usually mounted at the top of the windscreen. Even a millimetre difference in the angle of the new glass or the camera position can make the camera see the road differently. That is why ADAS calibration should follow a windscreen replacement.
An uncalibrated system often gives no warning, but it may detect the lane late or time its braking response wrongly. For more detail read our article What is ADAS calibration?.
Seasonal tips
In winter: Adhesive cures more slowly in cold weather. Instead of forcing a frozen windscreen with a scraper in the morning, warm the car at idle and run the demister on a medium setting. Never pour hot water on the glass; the sudden temperature change stresses both the new glass and the adhesive.
In summer: Parking in the sun for long periods heats the cabin a lot. In the first days, park in the shade if you can, and don’t point the air conditioning at the glass on its coldest setting as soon as you get in. If you use a sunshade, choose a foldable one rather than a model that sticks to the glass with suction cups.
Checks in the first week
- Watch that the rain and light sensors work normally.
- Check the heated windscreen (if fitted) and wiper performance.
- When driving at night, look for any waviness or distortion in the glass.
- Check that the mouldings around the edge are fully seated.
- Keep your warranty certificate; you can verify it with your code on the warranty check page.
Is there an extra step for an insurance replacement?
If the replacement was covered by your comprehensive insurance or glass cover, the assessment and paperwork are usually completed before installation. No extra action is needed from you afterwards. For questions about the process, read our guide Insurance glass replacement step by step.
Don’t let small damage grow
If a stone chip appears on your new windscreen over time, don’t wait. A small chip can often be fixed quickly with chip repair; once a crack spreads, the only option is another replacement.
If you have any problem, just call us. The post-installation check is free, and for warranty work we follow up on your behalf.
Tags
- ön cam değişimi
- oto cam
- adas kalibrasyonu
- araç bakımı
Updated: